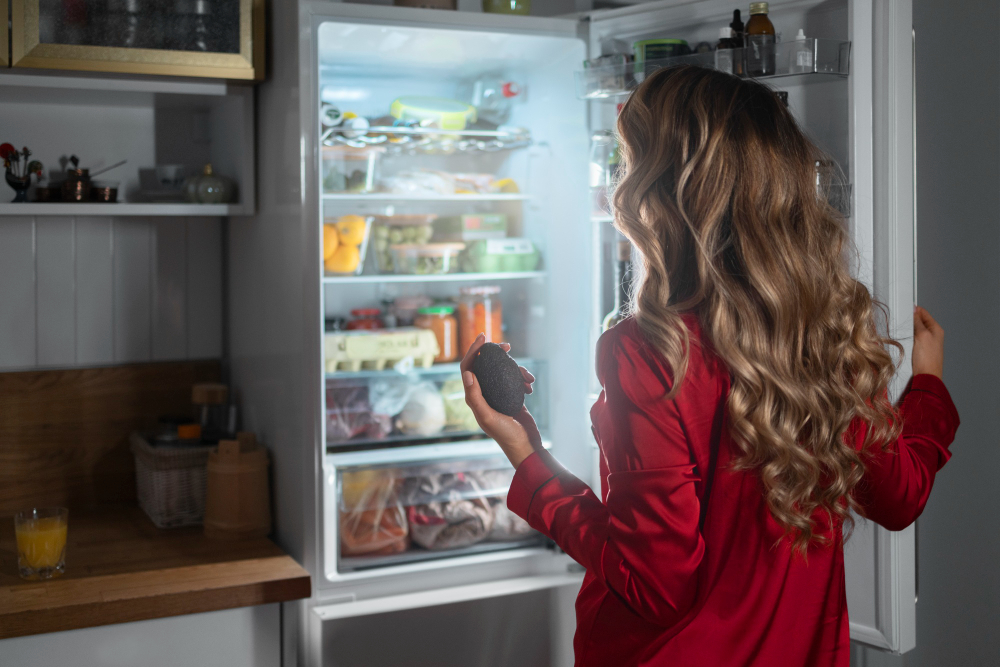
A clean freezer isn’t just about organization—it’s about keeping your food safe, eliminating bad odors, and ensuring your appliance runs efficiently. While we often scrub the refrigerator, stove, and sink, the freezer tends to be ignored. However, neglecting it can lead to bacterial buildup, mildew growth, and unpleasant smells.
Cleaning your freezer is simpler than you think! With a few easy steps, you can keep it fresh, efficient, and odor-free. Let’s dive in.
Step-by-Step Freezer Cleaning and Disinfecting
Regular cleaning not only keeps your freezer looking neat but also prevents unpleasant odors and bacterial growth, ensuring your food stays fresh for longer.
Step 1: Empty and Organize
Begin by removing everything from your freezer. Place food items on the counter and check for expired or freezer-burnt items—if you wouldn’t eat it, toss it! Use a marker to label the items you’re keeping to avoid future waste and confusion.
Step 2: Defrost the Freezer
If your freezer has an automatic defrost option, use it. Otherwise, unplug the appliance and leave the door open to allow ice to melt naturally. Speed up the process by placing a bowl of hot water inside or carefully using a hairdryer. Lay towels around the freezer to soak up excess water.
Meanwhile, take out the shelves and drawers and wash them in warm, soapy water so they’re fresh and ready for restocking.
Step 3: Deep Clean and Sanitize
Once defrosted, wipe down the inside with warm, soapy water. For tough stains and odors, make a paste using baking soda, vinegar, and water—this natural mix cuts through grime and deodorizes your freezer.
For an extra level of sanitation, wipe surfaces with a mild bleach solution (one tablespoon of bleach per gallon of water) or an equal mix of vinegar and water. Don’t forget the rubber door seals—dirt often hides there, so use a toothbrush to scrub the grooves.
Step 4: Dry, Plug In, and Restock
Use a clean cloth to dry all surfaces before plugging the freezer back in. Let it cool to 0°F before returning food. Organize wisely—store long-term items at the bottom and frequently used foods within easy reach. Label everything with dates to track freshness.
Cleaning a Deep Freezer: The Extra Steps
Deep freezers require a bit more effort due to their size and design, but with the right approach, you can keep them just as fresh and efficient as a standard freezer.
Step 1: Unplug for Safety
Always disconnect the power before cleaning a deep freezer. Lay towels around it to absorb melting ice.
Step 2: Declutter and Take Inventory
Go through all items and discard anything too old or unrecognizable. Label the food you’re keeping for easier access later.
Step 3: Defrost and Scrub
Deep freezers take longer to defrost. Speed up the process with a bowl of hot water inside. While waiting, remove any removable parts and wash them separately.
Clean using the same method as a regular freezer—mild soap or a baking soda-vinegar mix. Wipe down everything with a damp cloth afterward.
Step 4: Smart Restocking
Once dry, plug the freezer back in and wait for it to cool. Store bulk items at the bottom and frequently used items on top for easy access.
Pro Tips to Keep Your Freezer Fresh
- Wipe down shelves and seals every two weeks to prevent grime buildup.
- Take inventory every three months to discard old or forgotten items.
- Deep clean every season to maintain efficiency and hygiene.
Let Fixlaa Handle the Hard Work!
Regular freezer cleaning keeps your kitchen fresh, but if you’re short on time, Fixlaa is here to help! Our expert deep cleaning services cover freezers, refrigerators, kitchen floors, cabinets, and more. Let us handle the tough jobs so you can enjoy a spotless, germ-free home.
Book a deep cleaning session with Fixlaa today and keep your kitchen in perfect shape!


